

How to Charge a Car Battery at Home: A Quick UK Guide
Knowing how to charge your car battery at home is one of those simple skills that pays for itself almost immediately. Forget the hassle and expense of calling out a recovery service; a small investment in a decent charger puts you in control, ensuring your car is always ready to go when you are.
The Real Benefits of Charging Your Car Battery at Home
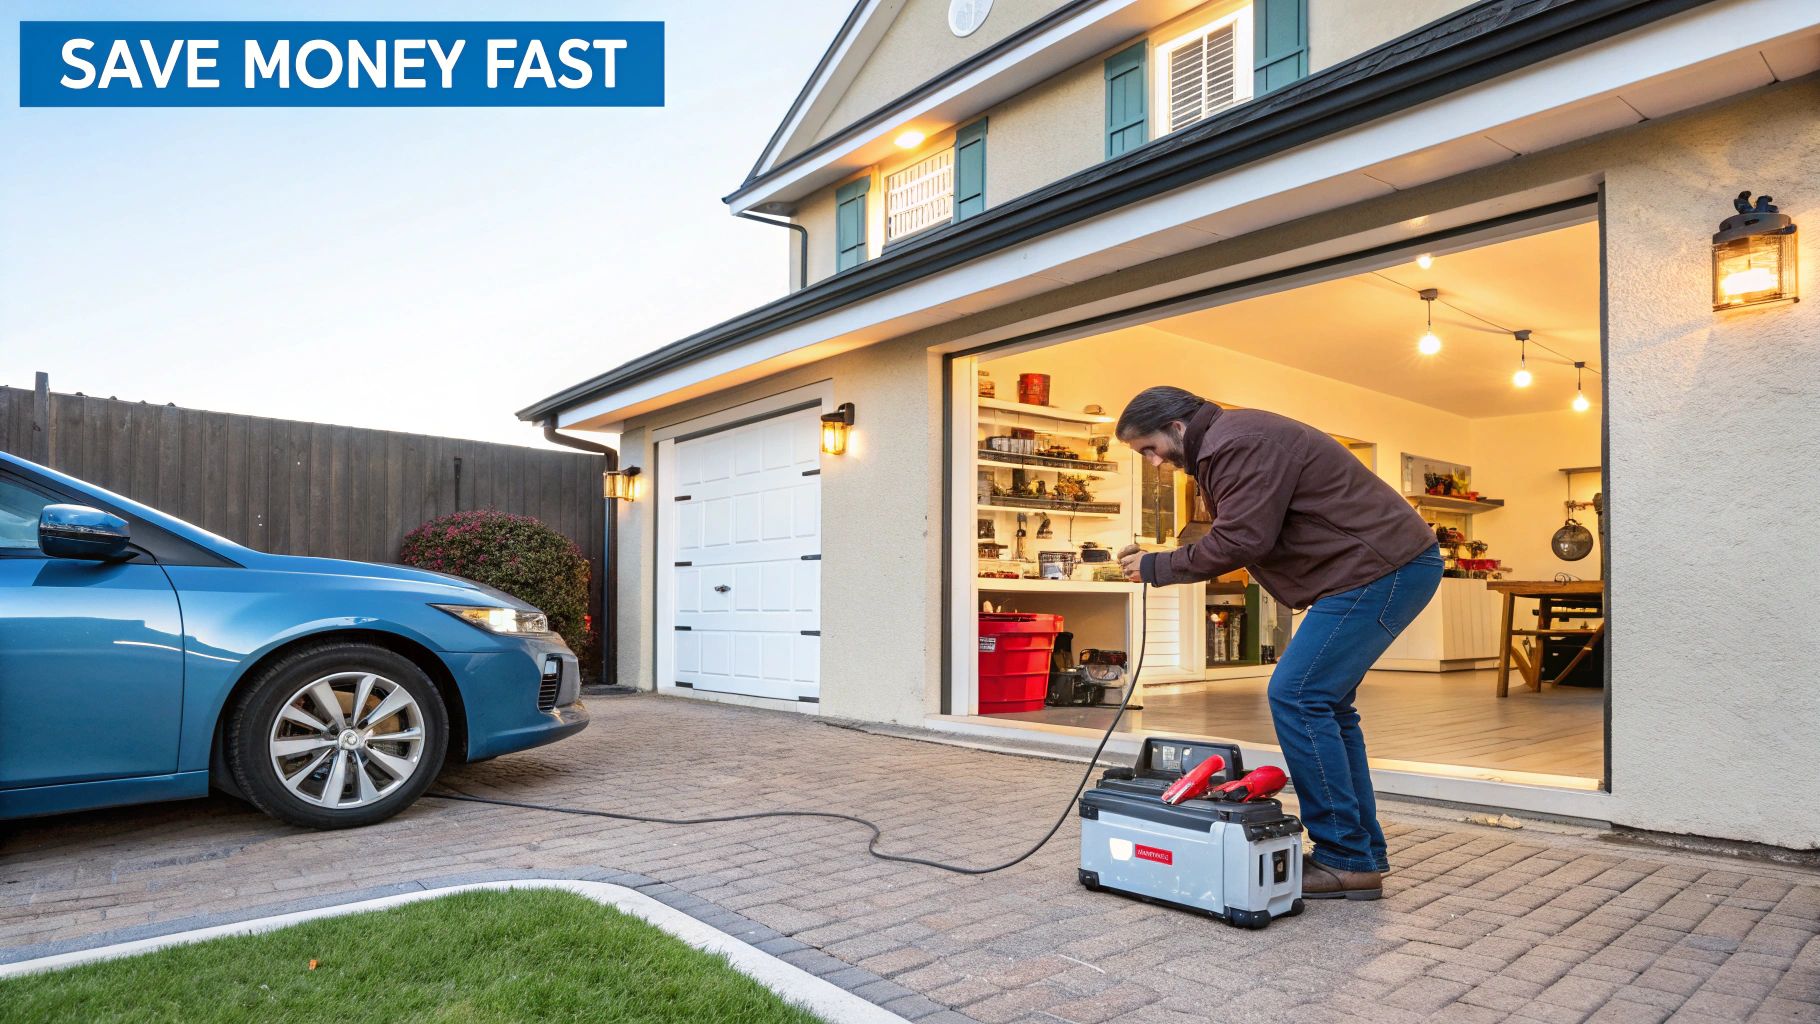
That initial purchase often pays for itself the very first time you use it. More than that, it gives you a sense of self-sufficiency. There’s nothing worse than that dead feeling when you turn the key on a frosty morning and being able to sort it yourself without waiting for help is invaluable.
Extending Battery Lifespan
Regularly topping up your battery with a maintenance charge is one of the best things you can do to prolong its life. Modern smart chargers are not just about cramming power back in; they actively recondition the battery, maintaining its health and slowing down the degradation that leads to failure.
This proactive mindset helps you sidestep the surprise cost of a new battery, which can run anywhere from £80 to over £250 , depending on your car. By keeping your battery in peak condition, you're not just saving money but also taking a more sustainable approach by reducing waste.
The real value lies in the shift from reactive panic to proactive maintenance. Instead of waiting for a problem, you are equipped to prevent it, ensuring your vehicle is always ready when you are.
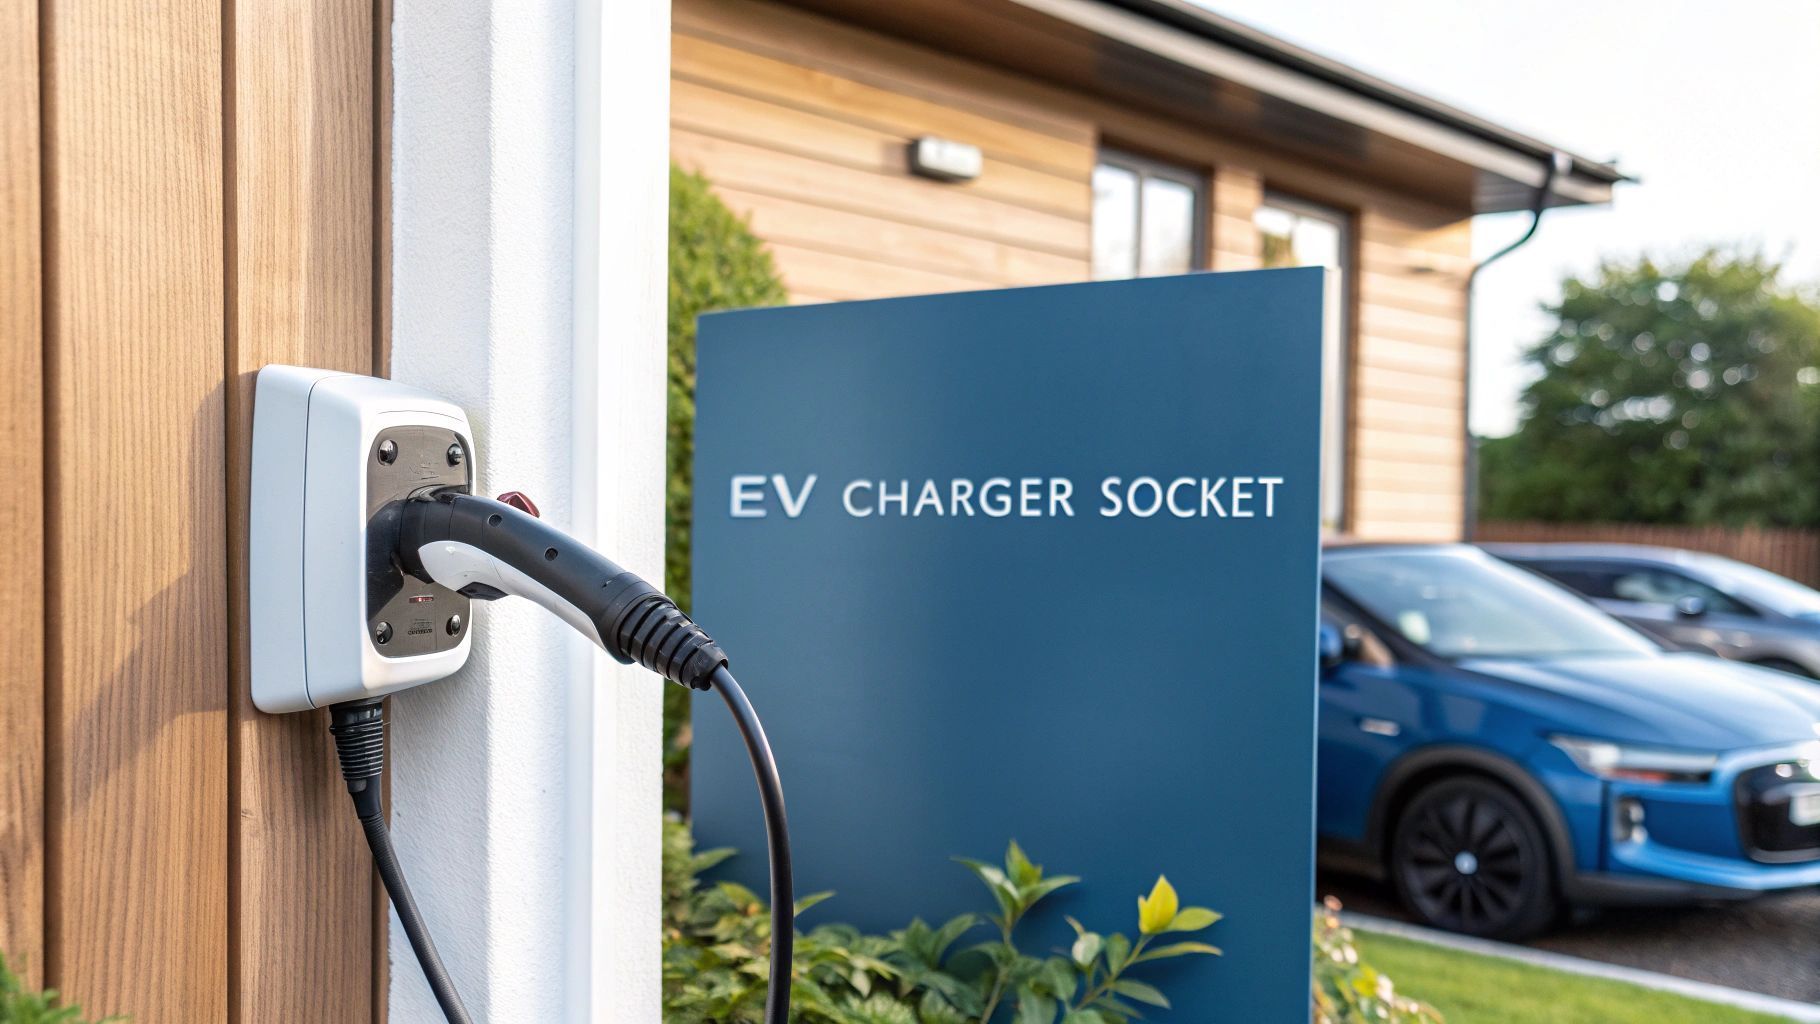
This principle of smart, cost-effective home charging is already well-established in the automotive world. Just look at electric vehicles—charging at home in the UK can lead to annual savings of £425 to £1,000 compared to relying on public chargers or running a petrol car. You can explore the data on home vehicle charging benefits yourself. It all points to the same conclusion: managing your vehicle’s power at home is both clever and economical.
Choosing the Right Charger for Your Car
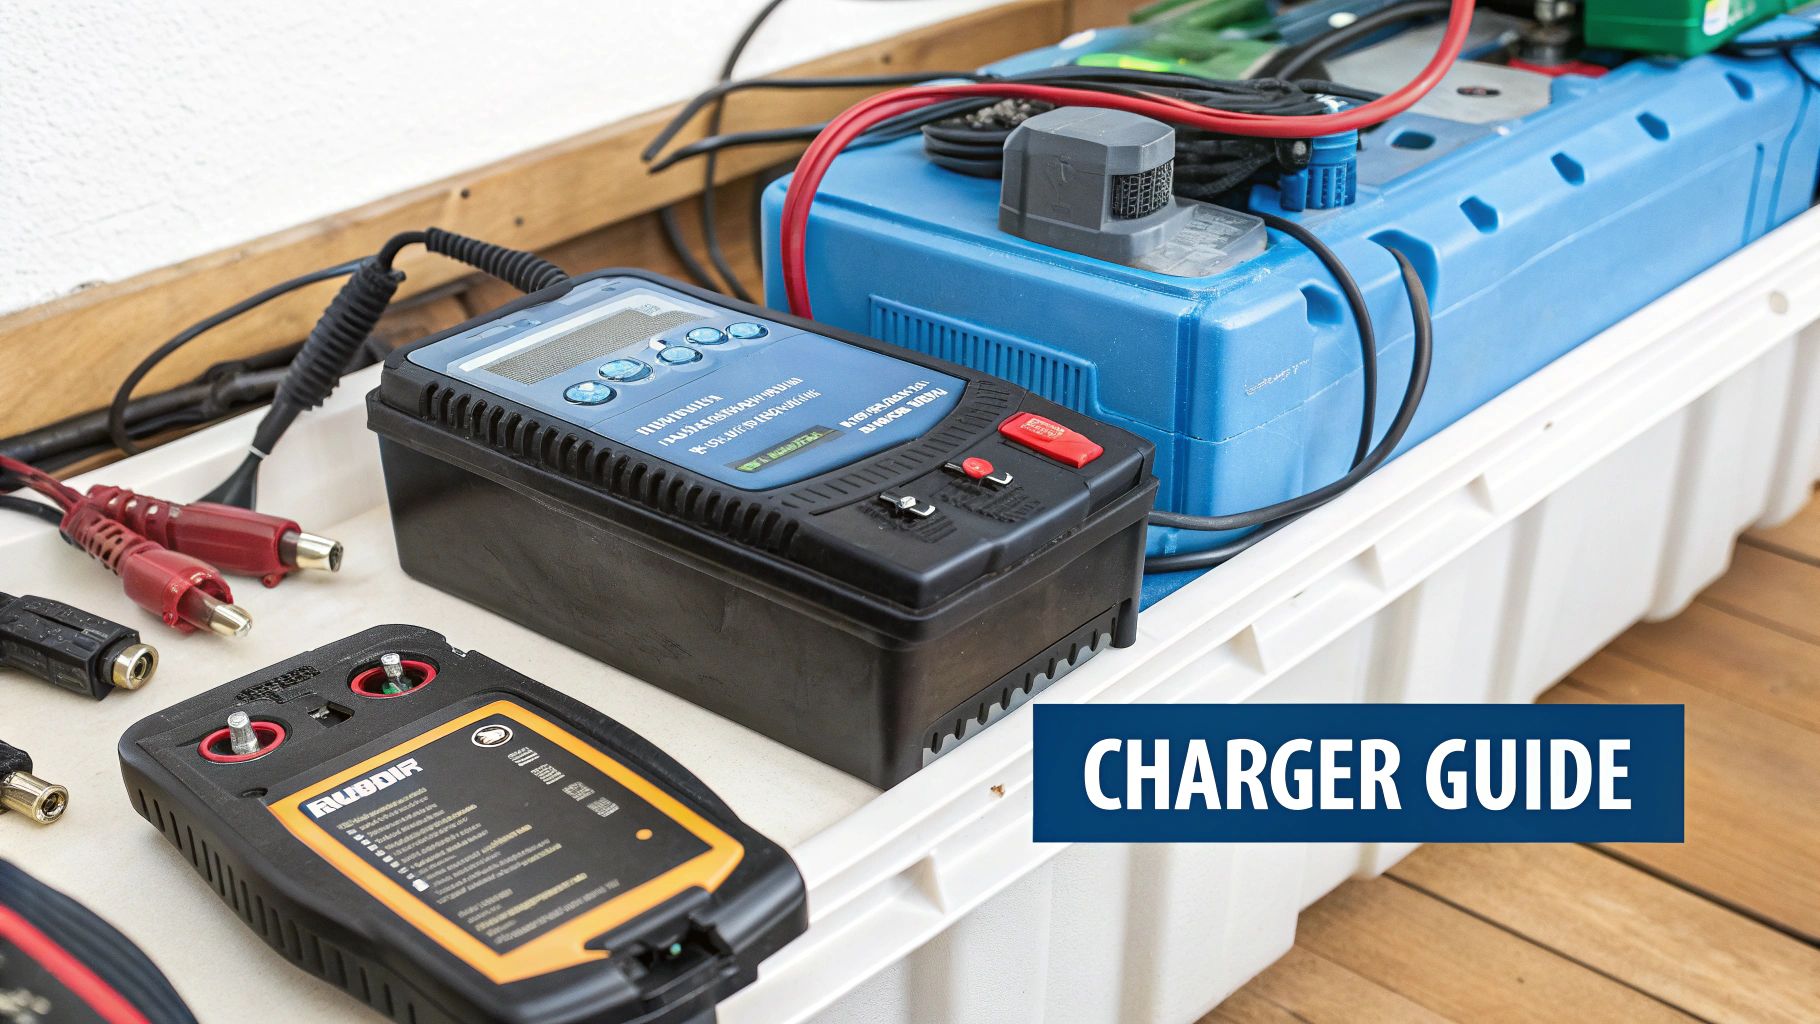
Picking the right charger is not just a small step in the process—it's the most crucial one. With so many different types on the market, it's easy to get a bit lost but getting your head around the main differences is the key to doing this right because your choice directly impacts charging speed, the long-term health of your battery and your own safety.
You’ll generally find three types out there: trickle chargers, multi-stage smart chargers and battery maintainers. A basic trickle charger just sends a slow, steady stream of power, which is fine for small batteries like on a motorbike. The catch is that it won’t switch off by itself so leaving it on for too long is a sure-fire way to overcharge and damage your battery.
Matching the Charger to Your Battery
For any modern car, a smart charger is a much better investment. These clever bits of kit actually talk to your battery, analysing its condition and running it through multiple charging stages. This doesn't just fill it up efficiently; it also helps recondition and maintain it, which can seriously extend its life. For a deeper look at the top models available, you can check out our guide on the best battery charger for your car.
First things first, you need to know what kind of battery you have. Most cars still use a standard lead-acid battery but many newer models with start-stop technology will have an Absorbent Glass Mat (AGM) or Enhanced Flooded Battery (EFB) . A quick look in your car's handbook will tell you for sure. It’s absolutely vital to use a charger that’s compatible with your specific battery, as AGM and EFB types need a very precise charging algorithm to stay healthy.
A great charger does more than just supply power; it protects your investment. Look for models with built-in safety features like reverse polarity protection, which prevents damage if you accidentally connect the clamps the wrong way round.
A Quick Guide to Home Battery Chargers
To help clear things up, here’s a simple breakdown of the most common charger types. This should make it easier to find the perfect fit for your needs and your vehicle.
| Charger Type | Ideal Use Case | Key Feature to Look For |
|---|---|---|
| Trickle Charger | Small batteries (motorbikes, lawnmowers) | Low, steady amperage (1-2 amps) |
| Battery Maintainer | Long-term storage (classic cars, boats) | "Float" mode to keep battery topped up |
| Smart Charger | Most modern cars (including AGM/EFB) | Multi-stage charging and safety features |
Ultimately, a good smart charger is the best all-round choice for most drivers, offering the right balance of performance, safety and battery care.
Finally, keep an eye out for a few extra features that really add value and peace of mind:
- Temperature Compensation: This handy feature adjusts the charging voltage based on the surrounding temperature, preventing under or overcharging whether it’s a freezing winter morning or a hot summer day.
- Reconditioning Mode: Some chargers have a special cycle that can help recover deeply discharged batteries, which might just save you from having to buy a brand-new one.
- IP Rating: An IP65 rating, for example, means the charger is dust-tight and can handle water splashes, making it much safer to use in a typical garage or shed.
How to Prepare for a Safe Charging Session
Before you even think about connecting a charger, getting the environment right is the most important step. Car batteries contain corrosive acid and can release flammable hydrogen gas while charging so treating them with respect is non-negotiable. Taking a few minutes to prepare properly minimises risks and makes sure the whole process goes smoothly.
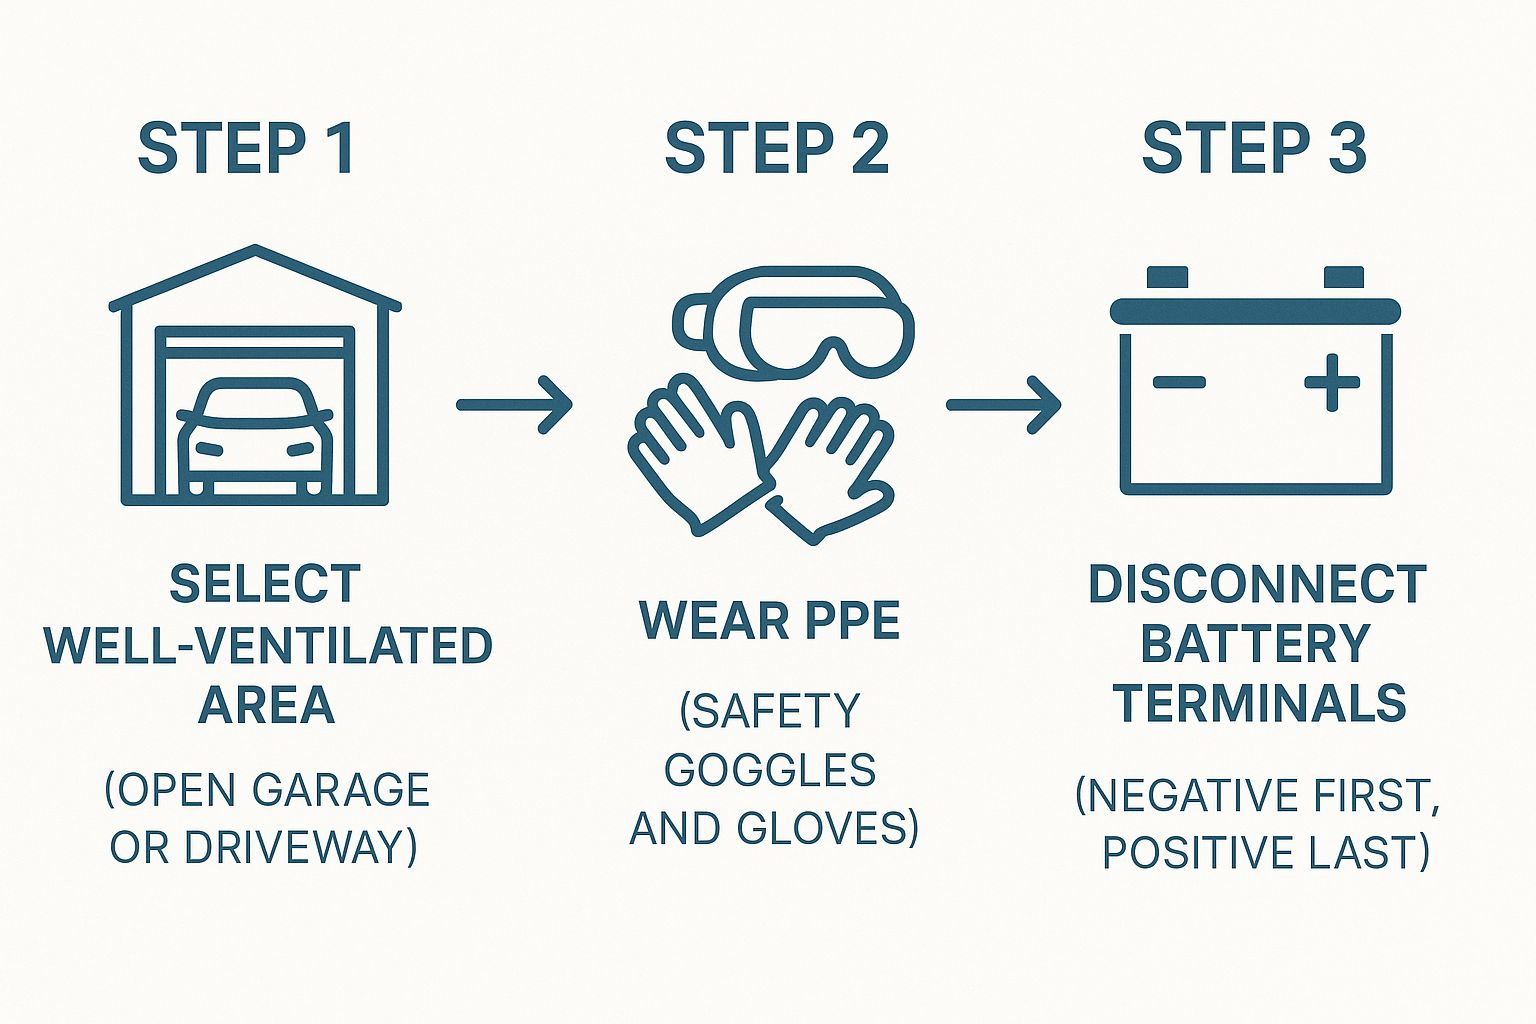
Your choice of location is critical. You should always charge your car battery in a well-ventilated space, like an open garage with the door up, a carport or simply on your driveway. This stops any potential build-up of hydrogen gas. It's also vital to keep the area clear of any potential ignition sources—that means no cigarettes, sparks from power tools or even pilot lights from nearby boilers or water heaters.
Essential Personal Protection
Personal Protective Equipment (PPE) is not optional when you're handling a car battery. You absolutely must wear:
- Safety Goggles: These will protect your eyes from any accidental splashes of battery acid, which can cause severe and permanent damage.
- Acid-Resistant Gloves: Standard latex gloves just won't cut it here. You need a pair of sturdy, chemical-resistant gloves to protect your skin from acid burns.
Before you start any home charging session, it's a really good idea to familiarise yourself with some essential electrical safety tips to prevent accidents. This knowledge is key to handling electrical equipment with confidence.
Next, give the battery itself a quick visual inspection. Look for any obvious signs of damage, such as cracks in the casing, bulging sides or any fluid leaking out. If you spot any of these issues, do not attempt to charge the battery . A damaged battery is a serious hazard and needs to be replaced by a professional.
If you need to disconnect the battery terminals for a proper clean or inspection, always follow the correct procedure to avoid creating a dangerous spark. It’s a simple but vital rule: negative off first, then positive off last. When you reconnect, you just do the reverse: positive on first, then negative on last.
This simple infographic breaks down the core safety process for getting ready to charge your car battery at home.
A Practical Guide to Connecting and Charging
With your safety checks out of the way, it’s time to get the charger hooked up and bring your battery back to life. This part is pretty straightforward but the sequence really matters. Getting the order right is not just about being correct; it’s about protecting yourself and your car’s delicate electronics from a nasty shock.
Before you even think about touching the clamps, make absolutely certain your battery charger is unplugged from the mains and switched off . It’s a simple but critical step that prevents any chance of a spark when you connect to the battery—a huge safety no-no around a battery that could be venting flammable hydrogen gas.
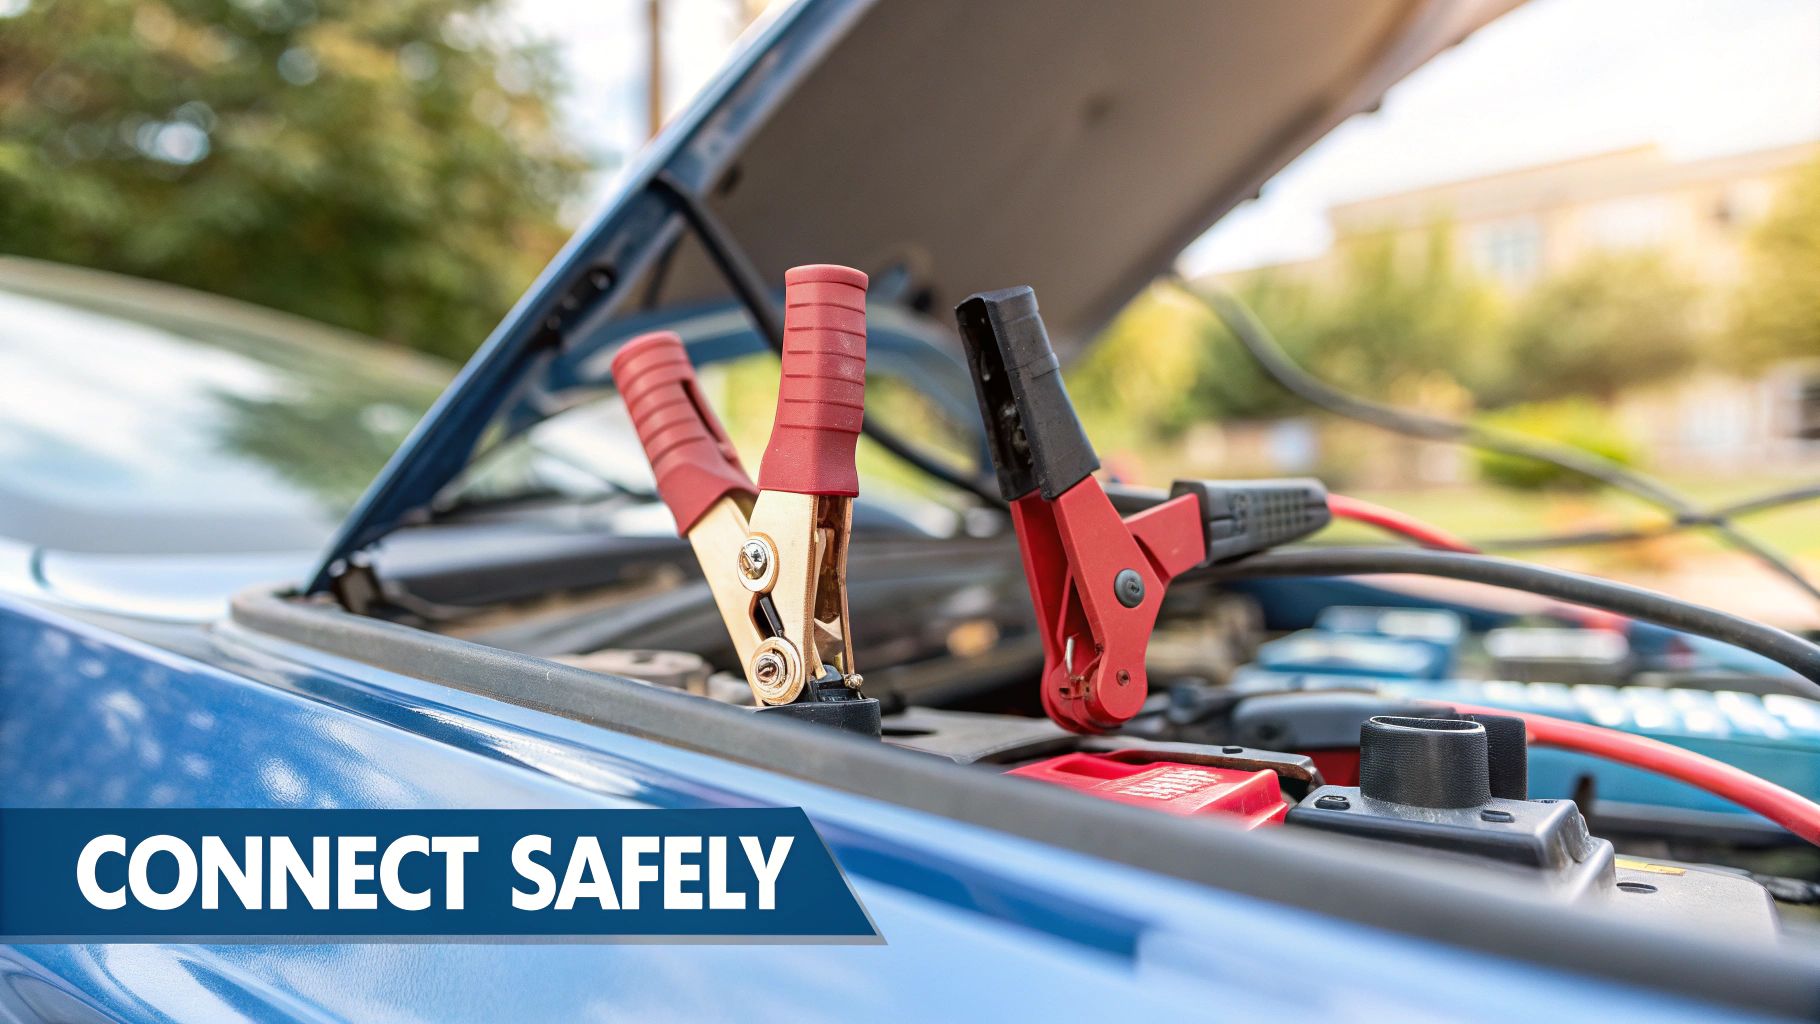
Making the Right Connections
The order you attach the clamps is crucial. It’s a simple routine you should never deviate from: positive on first, then negative to the chassis. This sequence is designed to keep you safe and your vehicle happy.
Here's exactly how to do it:
-
First, connect the red (positive) clamp. Get a good, firm grip with the red clamp from your charger onto the positive (+) terminal of the car battery. You’ll usually see a “+” symbol and it often has a red plastic cover you'll need to flip open.
-
Next, connect the black (negative) clamp. This is the bit people often get wrong and it’s arguably the most important step. Do not connect the black clamp to the negative (-) battery terminal. Instead, find a solid, unpainted metal point on the car's engine block or chassis, a good distance away from the battery itself. A chunky bolt head is usually the perfect spot.
This technique is known as creating a chassis ground . It’s a professional trick that ensures any tiny spark that might occur happens far away from the battery, dramatically cutting the risk of igniting any hydrogen gas. Just as importantly, it shields your car’s Engine Control Unit (ECU) and other onboard computers from potential voltage spikes when you make the connection.
Connecting the negative clamp to the chassis instead of the battery terminal is a pro-level best practice. It’s a small detail that makes a world of difference to the safety and electronic health of modern cars.
Powering Up and Monitoring
Once your clamps are secure, you're ready to go. Plug your charger into the mains socket and switch it on. If you're using a modern smart charger, it’ll probably run a quick diagnostic before prompting you to choose a charging mode. For almost any standard car battery, the 12V normal or ‘car’ mode will be the one you need.
As soon as charging kicks off, the charger’s display or lights will show you its progress. There’s no need to babysit it; a decent smart charger will handle the whole process on its own. It will automatically switch over to a maintenance or 'float' mode once the battery is full. This stops it from overcharging and keeps the battery topped up and healthy, whether it takes a couple of hours or the whole night.
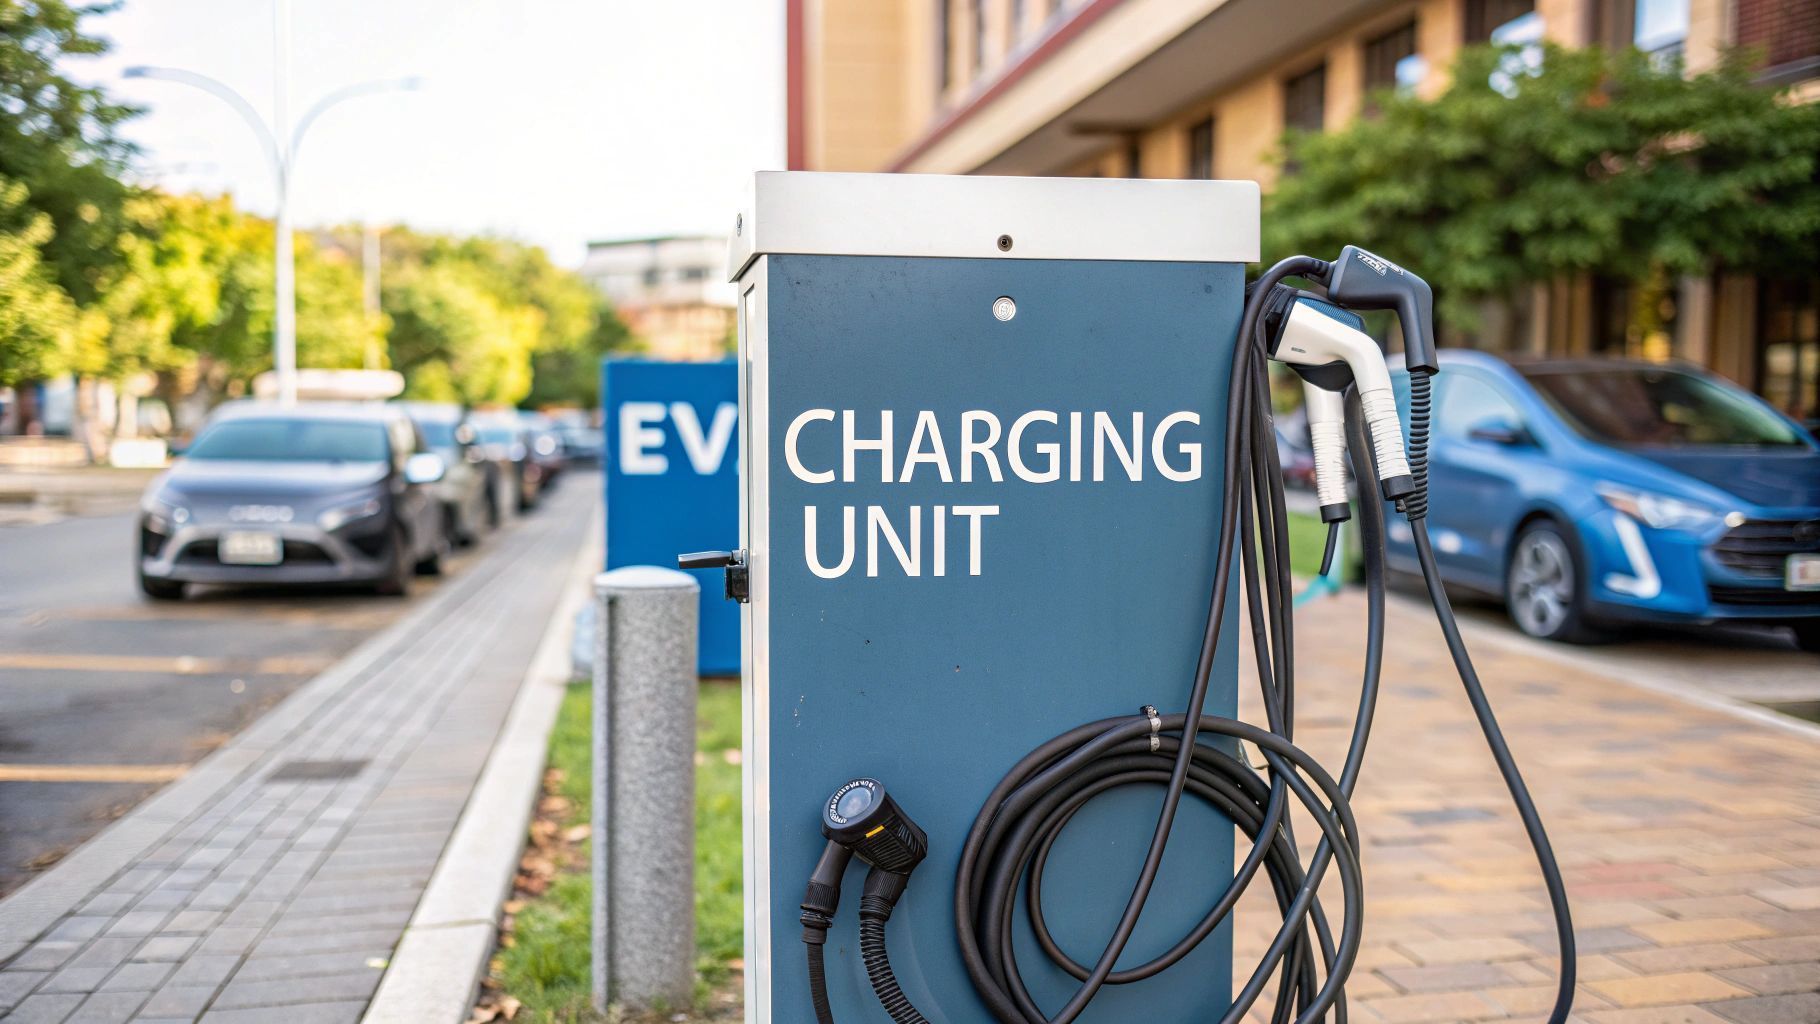
While your car battery is getting sorted, you might find it interesting to see how the other side lives with your guide to every EV charger connector , which covers the broader world of vehicle charging.
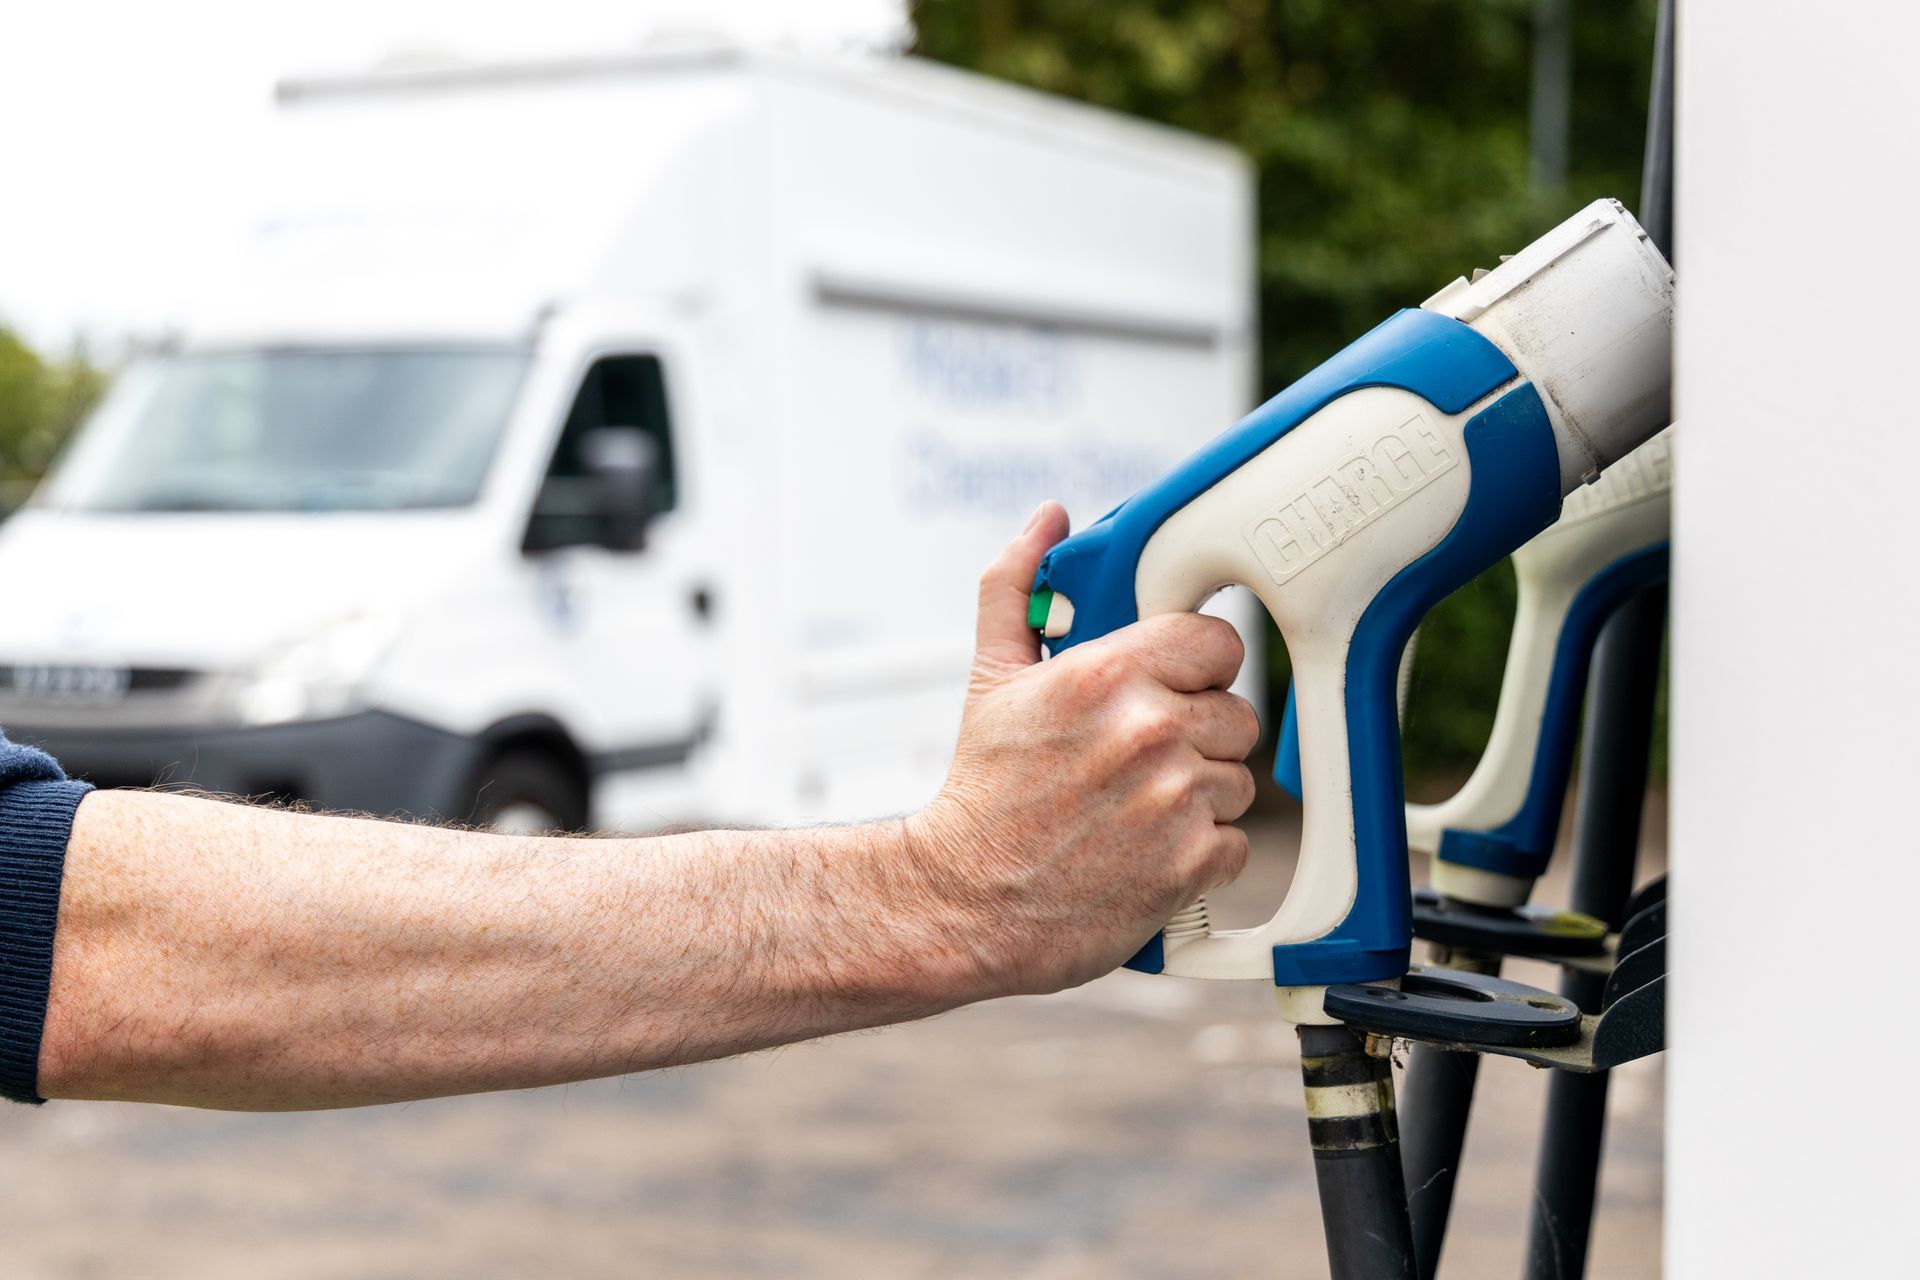
The Rise of Mobile EV Charging as a Business
As EV adoption in the UK continues to climb, so does the appetite for these flexible solutions. While home charging remains the go-to for most, mobile services are perfectly placed to fill the crucial gaps. The convenience factor of mobile charging is a powerful selling point that creates a solid business foundation.
Unlocking the Profit Potential
From a business perspective, the financial outlook for a mobile charging operator is incredibly strong. The model is refreshingly simple but highly effective, built around a call-out fee paired with a per-kWh electricity price. For operators, this translates into a highly profitable venture.
A typical pricing structure might look something like this:
- Standard Call-Out Fee: £30 - £50 , just for showing up.
- Per-kWh Rate: £0.70 - £0.90 , a rate that’s competitive against many public rapid chargers but still offers a healthy profit margin over the operator’s own electricity cost.
An operator completing just five call-outs a day, delivering an average of 20kWh per vehicle, could generate a daily revenue of over £350 . This translates into a very significant annual income of over £90,000 from a relatively small number of daily jobs, demonstrating a clear path to a six-figure turnover.
There is an initial investment in a suitable van, commercial-grade mobile charging equipment and the right insurance. However, in a market this hungry for convenience, the return on that investment can be realised surprisingly quickly.
For anyone looking to jump into this field, our UK mobile EV charging service guide offers a detailed breakdown of how to get started. This growing sector offers entrepreneurs a genuine chance to build a successful and profitable business by delivering power directly where it’s needed most.
Common Questions About Home Car Battery Charging
If you're charging your car battery at home for the first time, it's natural to have a few questions. Getting clear, straightforward answers is the key to feeling confident and, more importantly, staying safe. We've pulled together some of the most common queries to help you get started.
How Long Does It Take to Charge a Car Battery?
One of the first things people wonder is how long this whole process is going to take. There’s no single answer here—it really depends on your charger’s power (measured in amps) and just how flat your battery is.
A good rule of thumb is that a standard 4-amp smart charger will take somewhere between 10 to 12 hours to fully juice up a typical car battery. If you’re using a lower-power trickle charger, be prepared to leave it on for over 24 hours.
Is It Safe to Leave the Battery in the Car?
Another common concern is whether you can leave the battery connected inside the car while it's charging. With any modern vehicle and a decent smart charger, the answer is a resounding yes. In fact, it's often the recommended way to do it.
The most crucial step here is to connect the negative charger clamp to a solid chassis ground point—like a chunky, unpainted bolt on the engine block—and not directly to the negative battery terminal. This little trick helps protect your car's sensitive electronics from any potential surges.
How Do I Know When It’s Fully Charged?
So, how can you be sure the job is actually done? Your smart charger is your best friend for this. It will have a clear indicator, usually a light that switches from red or amber to a solid green, or a digital screen that will proudly display "Full" or " 100% ".
For those of us who like to double-check, a multimeter gives a definitive reading. A fully charged 12V battery should show around 12.6 volts or a touch more. Just make sure you take the reading about an hour after the charger has finished its cycle to let the battery settle.
What Happens If I Connect the Clamps Backwards?
Mixing up the connections is known as reverse polarity and it sounds pretty scary. The good news is that any reputable modern charger comes with built-in reverse polarity protection . If you get it wrong, the charger will simply refuse to start and will usually flash an error light to let you know.
While charging at home is incredibly convenient, sometimes a battery just needs an expert eye. For more complex issues or if you suspect your battery is on its last legs, it's often best to seek out a professional battery service.
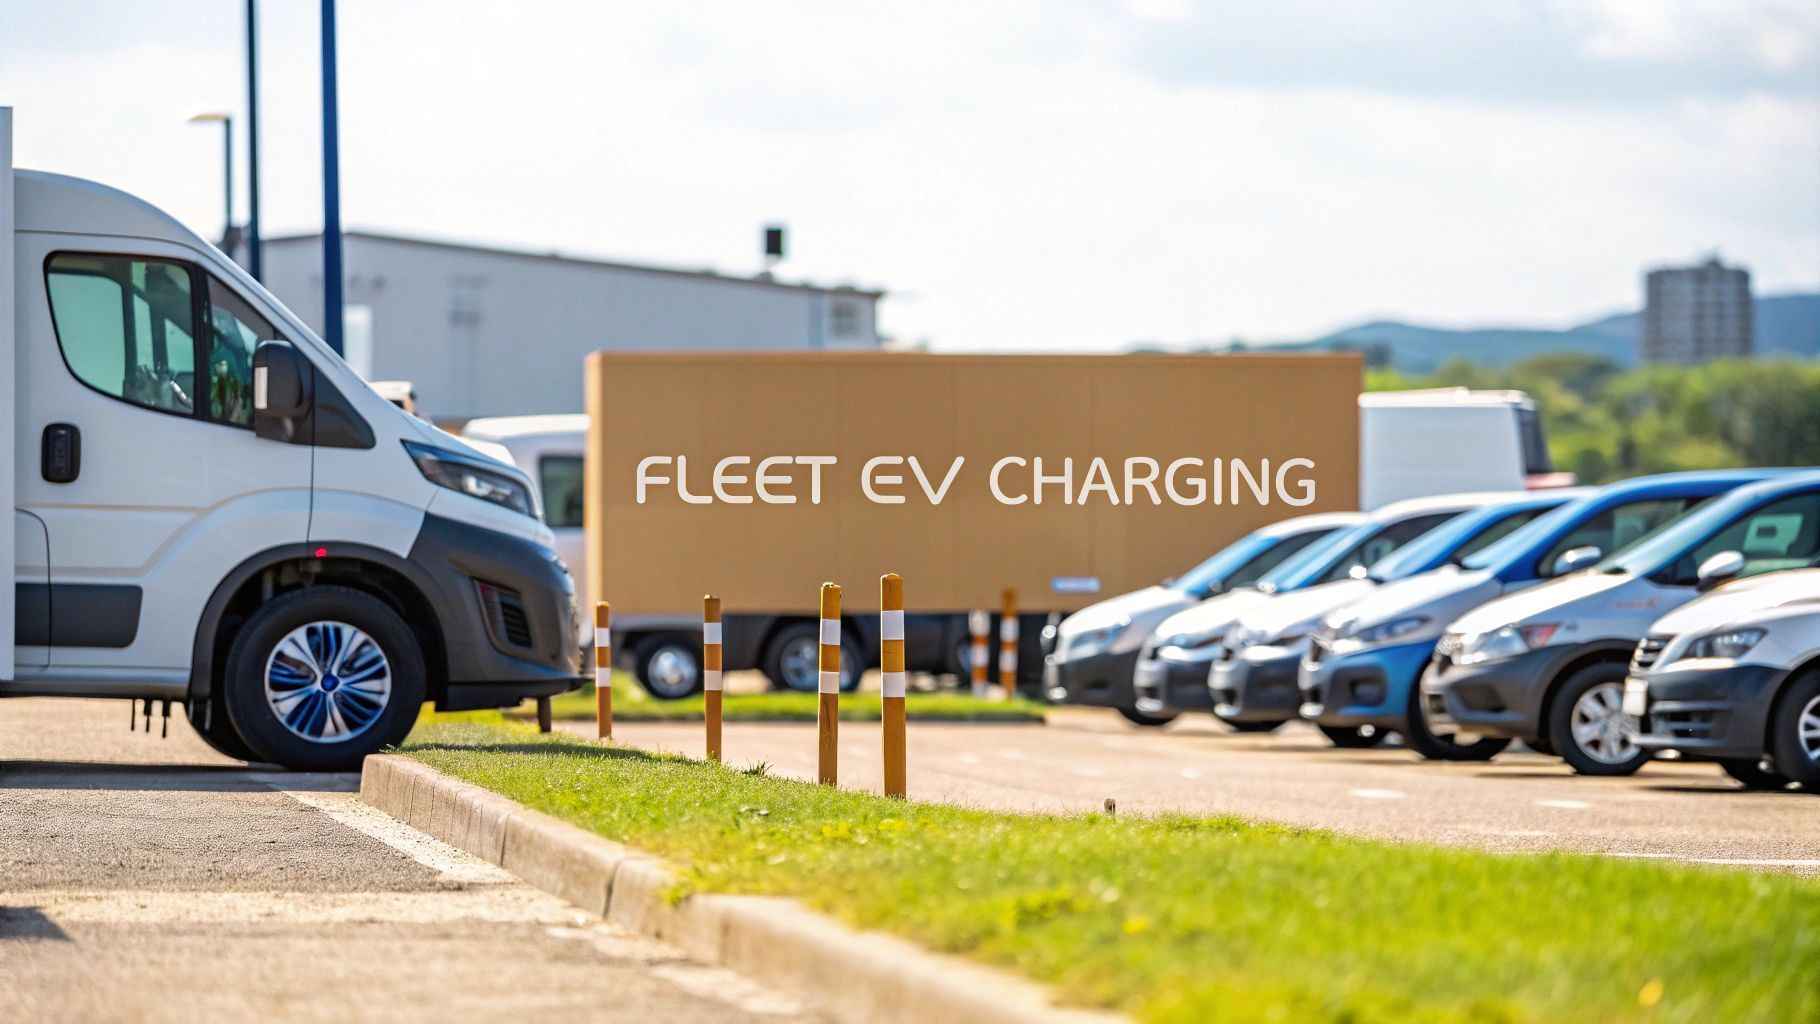
At ZAPME , we believe in making vehicle power accessible and convenient, wherever you are. Whether you're an EV driver needing a boost or a business looking for on-site fleet charging solutions, our mobile charging technology is designed to meet your needs. Discover how our innovative mobile EV charging units can keep you moving at https://www.zapme.biz.